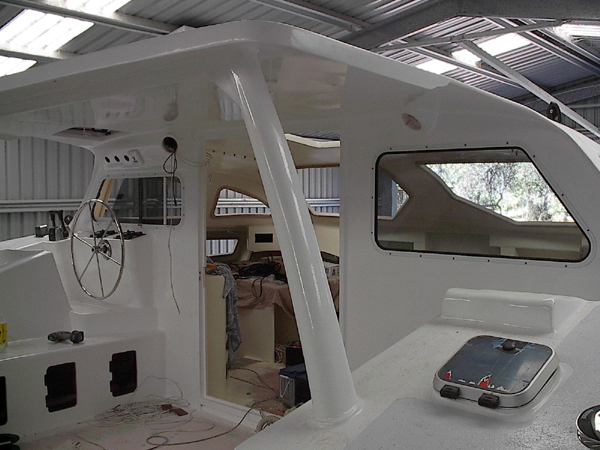
Decisions, Decisions
Fair bit of this here, where you are going to put cupboards, where important things are going to live, genset, electrical panels batteries anchor winch and other heavy stuff, how big is the chart table going to be, size and location galley, size of the seating the list goes on. You will have some idea from the designer where to put some of the important items, all the construction details for the mast bulkhead, and some idea of the location of the anchor chain etc will have been given. One bit of advise which I think is worthwhile. Get as much weight as possible close to the mast bulkhead, batteries, genset, anchor winch and chain, springs to mind. Some stuff can't be moved but some can. To be honest I had no idea of what I wanted the inside of my boat to look like, sure had looked at mags and pic of other boats, but this is an important moment, so thought a trip to the Eastern states was in order. Went to the Sanctuary Cove boat show and photographed and made video tapes of everything I liked, called up the designer before hand and visited some boats under construction and some completed. This gave me a real feel for what was possible and came away with a firm understanding what I wanted to achieve.
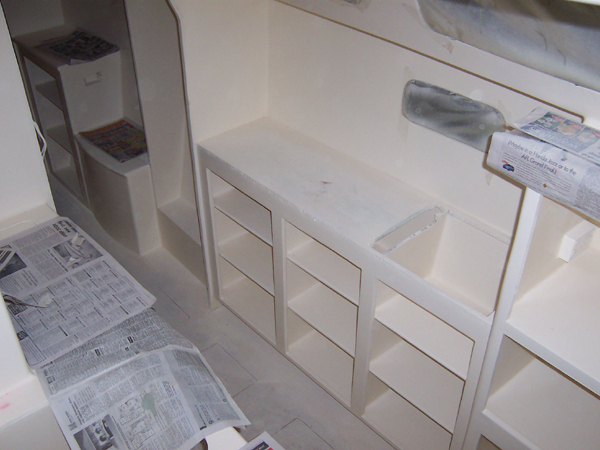
All of the internal furniture is built using Boat Craft Pacific's nidaplast, fronts of cupboards were put in place and the doors simply cut out carefully, bottoms of the cupboard fronts were glassed to the floors with lightweight glass tape further increasing the overall strength of the floors and the cupboards too. To save weight I incorporated handles into the cupboard fronts, cheap, light but can be time consuming. Cupboard shelves were 10mm Nidaplast ( the fronts and doors were 13mm). For catches I used cheap plastic 50 cent catches, worked great, hinges I used brass plated steel (in a lot of places)... Don't do that, spend the extra money and go with stainless to start with, I'm changing mine out now, with almost 200 that's a job. Probably the best thing to do is just look at the pics and other people boats.
Ventilation is a good thing to think about in cupboards and in fact most places, I achieved this on some of the cupboards by cutting out a large piece of the centre of the door and fastening in a piece of rattan, bit of a knack to this but the results are quite pleasing.
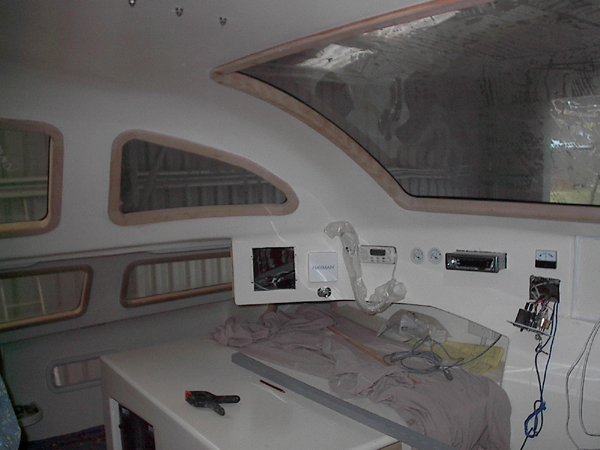
Underside of the Deck
Thought this was worth a mention, as I had a hell of a time glassing the underside of the decks - see Deck Construction. Sanding and filling above my head was not on the list of favourate pastimes. So to get around this problem I lined the underside of the decks with 4mm plywood. The plywood was held off the underside of the deck with 12mm ply cut into 25mm wide strips, glued to the underside of the deck to create a 25mm gap. This served 2 purposes - a cavity with which the wiring for the lights could run and therefore sunken lights could be used, the cavity can also be used to direct cool air from the air conditioning unit (yet to be fitted) - it had the additional advantage of adding strength to the deck. The ply was sealed with resin before been epoxyed to the ply strips, there we have it a false ceiling wit a reduction in headroom of only 30mm.
One other point, try and incorporate a few curved vertical surfaces, looks nice and not that hard to build.