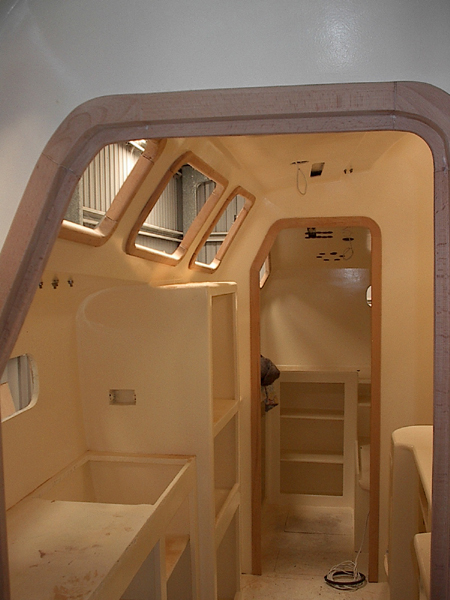
Starboard Hull, looking aft
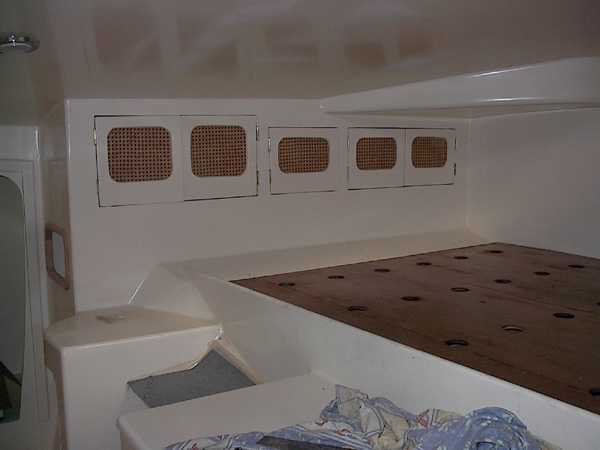
Port Forward Cabin
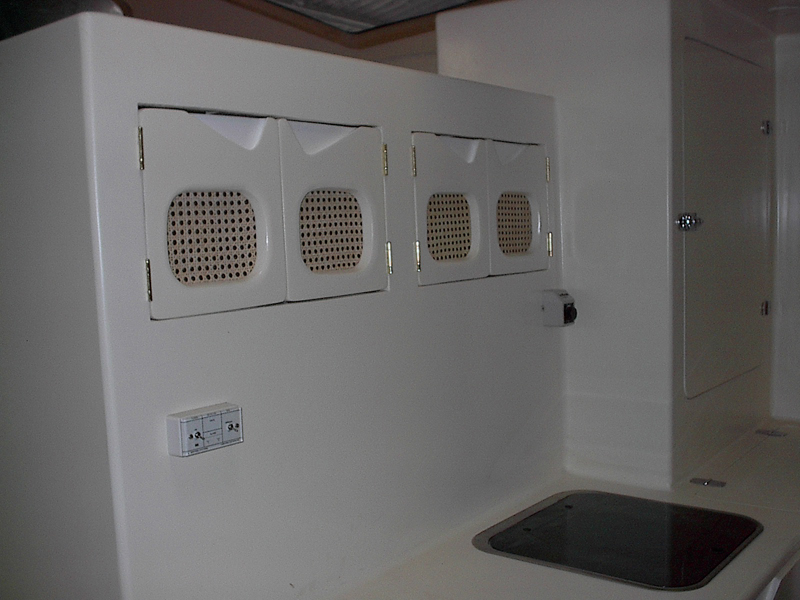
Galley Close to Finished
|
|
Internal Painting
What to Paint
Looking around other boats should give you a feel for this, or maybe you already know. I had a plywood covering over the underside of the deck so had already decided to paint that, and pretty much everything else. Painting does give a nice easy to clean fresh finish, but the problem with painting everything is that everything has to be primed and sanded down. One question you may have asked yourself is "what about the inside of the lockers and cupboards etc". Well I decided to paint those as well as I could. Not an easy task. We spent many hours sanding and priming and as mentioned before the best way to apply primer is to tint different coats with a different colour, this not only helps see where you have been but also helps when you are sanding the surface later on.
So the process generally goes like this
- Fill the areas you want to paint, well most of this will have been done, or should have been done before most of the internal furniture was constructed and fitted.
- Crank up your trusty compressor mix up your favorite epoxy primer, with a touch of tint and spray everything that does not move.
- More sanding and priming follows until everything is wickedly smooth.
Wattyl Wattyl Everywhere
I used Wattyl paints everywhere, inside and outside. Primer was Wattyl Epinamel High Build Epoxy Primer. Mixed this with some QCells for extra high build on the first or second coat. Internally I used Paracryl Acrylic Two Pack, this is an excellent paint and been isocyanate free is more user friendly. External surfaces were painted gloss white using Wattyl Poly U400. Be careful with this paint a rebreather face mast is really necessary for all but the smallest of jobs. Generally the surfaces to be painted were given 3 coats of Primer and 2 coats of Topcoat (inside) external got 3 coats of finish.
So we worked hard and got the surface to where I thought was good. At this point I was taught a very hard lesson. I'd had various professionals look at the job of painting the interior, with not a great deal of success and various prices. I got in the end a price that was reasonable and decided to go with that. Sadly for me I did not check the painters previous experience with painting the interior of boats. The job turned out a complete disaster. Uneven cover and runs everywhere. Ended up sanding the whole surface down and then repriming the entire interior of the boat with another 2 coats of primer, yep and then guess what, sanding it all smooth again. This little exercise cost me more than $2000.00 in lost paint and additional labour and around 3 months of time. I painted the boat in the end myself. Moral check out your "Professional" very carefully.
I found this was pretty much the best way to paint the inside.
- Carefully mix the paint have a practice on a primed piece of vertically stood ply, check for runs, get a feel for the rate of delivery of the paint, don't rush anything
- Paint the boat in sections, one weekend I did the forward cabins, seal as best as you can the main openings - doors and any other apertures you think may cause problems by spray getting over the surfaces it shouldn't. In the main forward cabin I left the main deck hatch open in the cabin I was painting, but covered the others, if you don't spray leaves your cabin and enters else where causing overspray problems.
- When an area is painted seal it fully, windows hatch openings and doors, leave it like this until you are finished.
- Rear cabins next or forward if you started on the rear. You will find it difficult to actually see and some sort of paint extraction system is needed and certainly good lighting.
- Next the midsections, when complete these need masking up or when painting the main saloon overspray ends up on all the horizontal surfaces, then you will have to repaint them - I did.
- Last the saloon.
- Well almost last, just all the doors, etc to do.
Right stand back and admire your work. External finishing now, then fitting shiny bits
|
|
|
